
强力化工产品手册(最新)
强力化工产品手册(最新)
强力化工产品手册(最新)
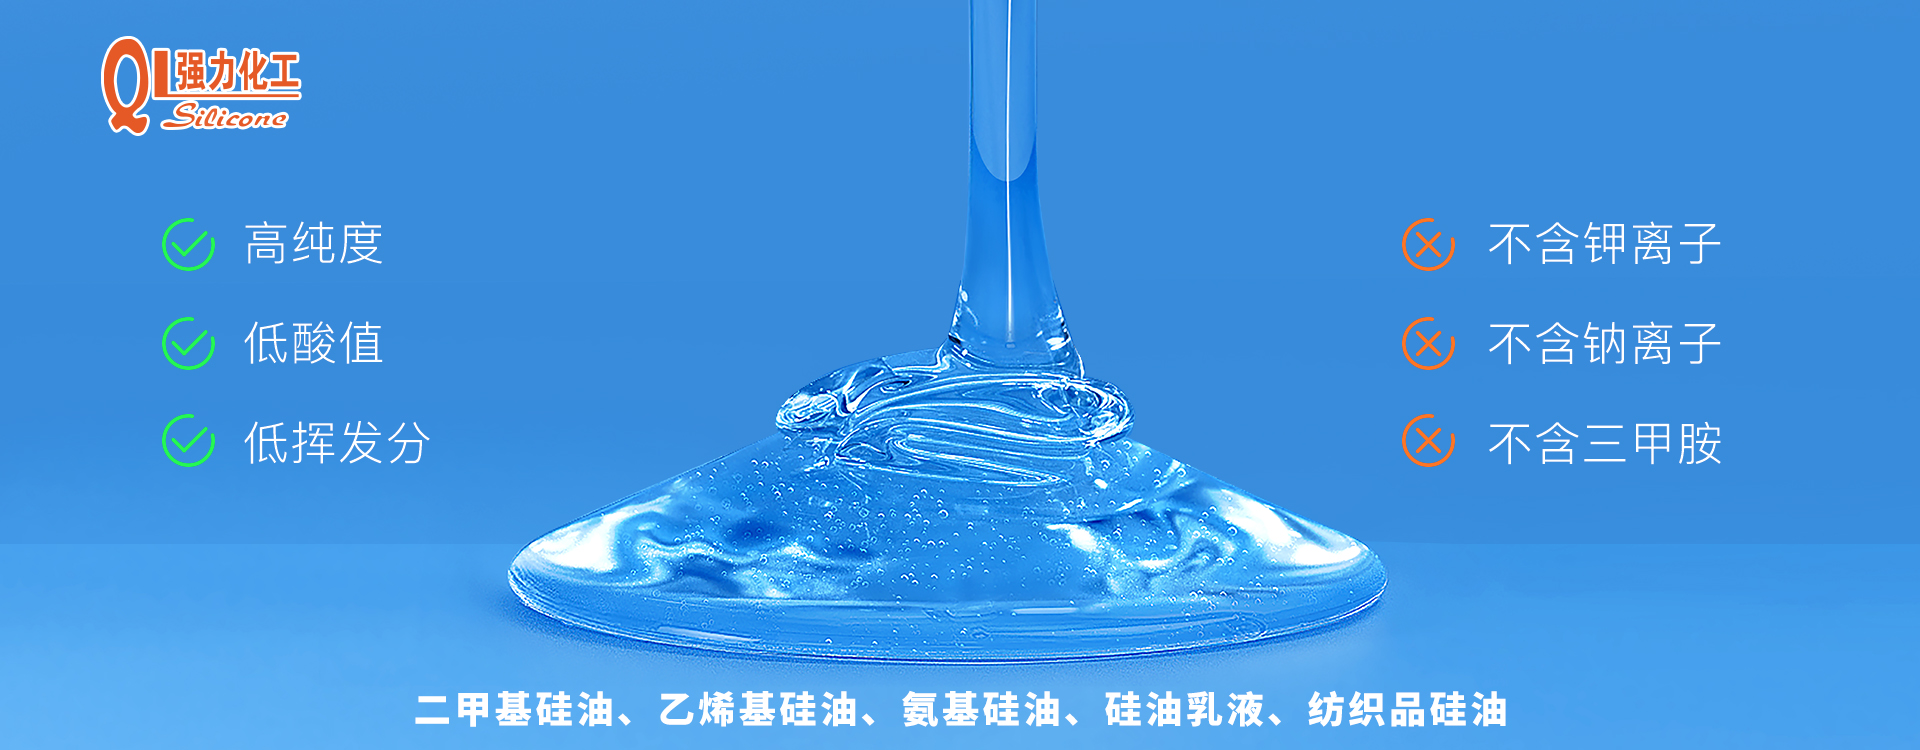
硅油的粘度可以在 0.65cs 到 2,000,000cs 之间变化很大,并且粘度在很宽的温度范围内保持恒定。由于聚合物链中硅和氧之间化学键的特殊特性,与某些有机聚合物相比,有机硅聚合物还表现出卓越的热稳定性(高达 250°C)。由于其非常低的表面张力,有机硅非常容易在表面上铺展,并且与不同的碳氢化合物和矿物油相比具有高压缩性。硅氧烷聚合物具有良好的介电性能和显着的抗剪切应力、自然老化、氧化和水解能力。硅油不同粘度的根本原因是分子量的不同,分子链长度的不同。另外硅油作为应用广泛的化学品,不同粘度的应用也不一样了。
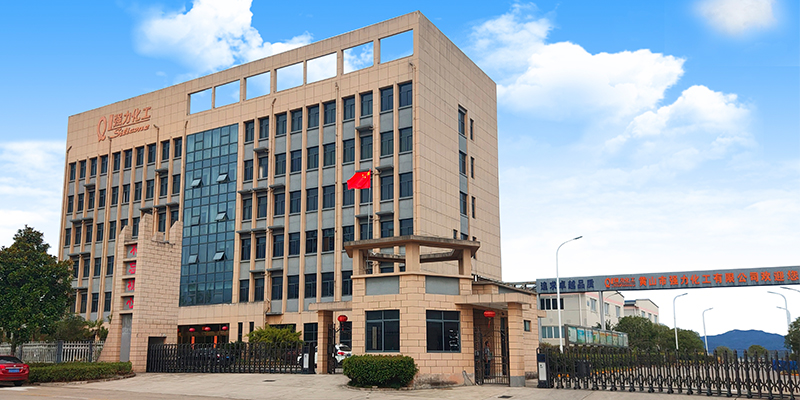
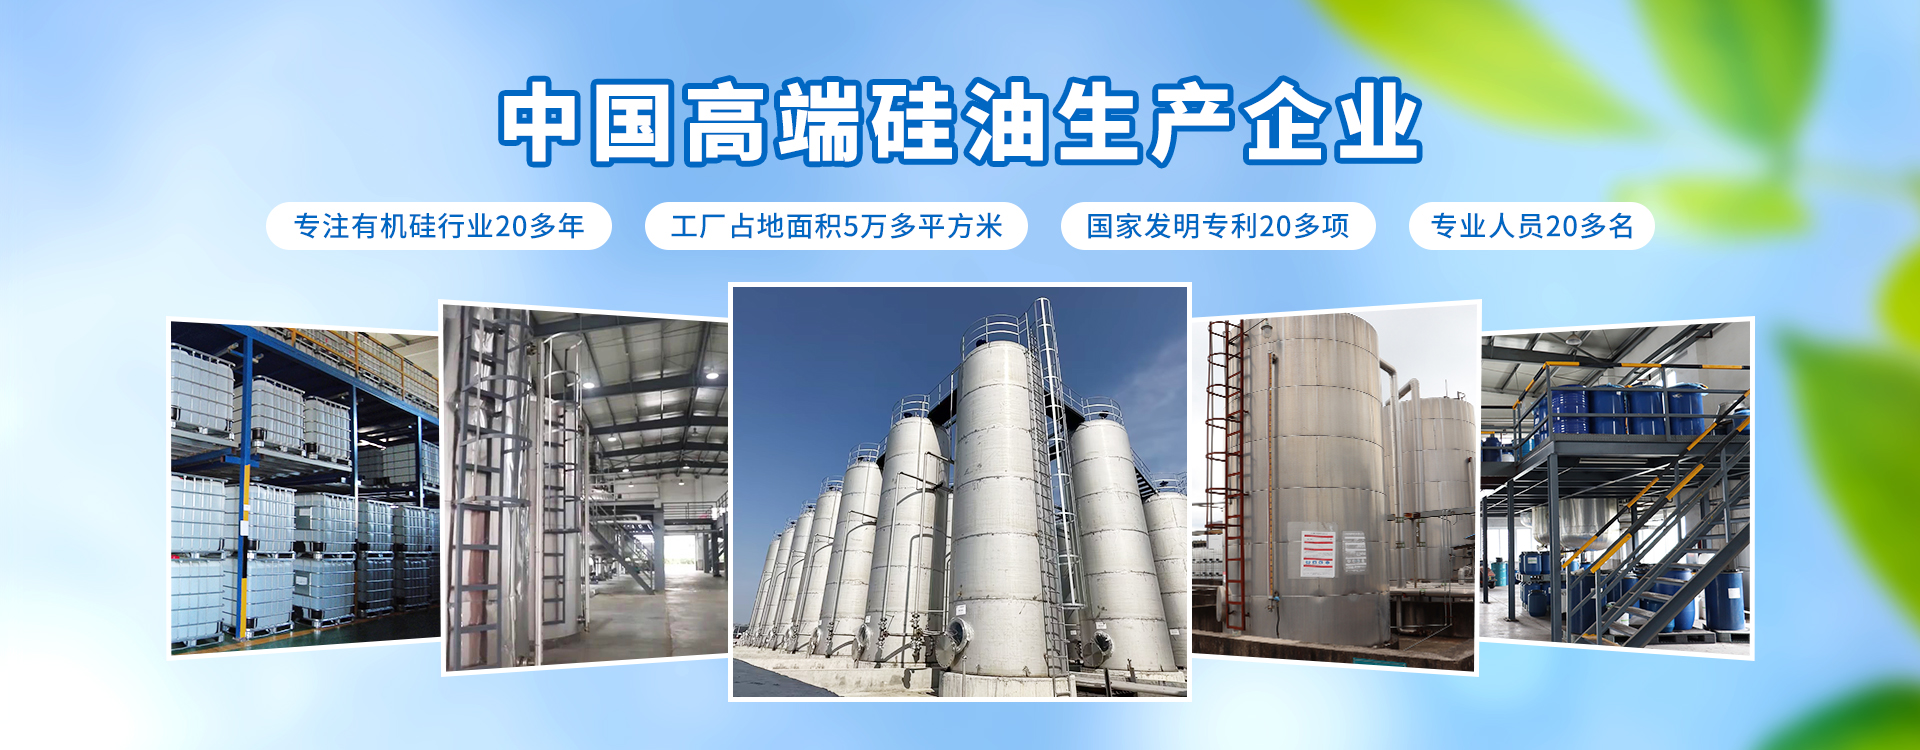
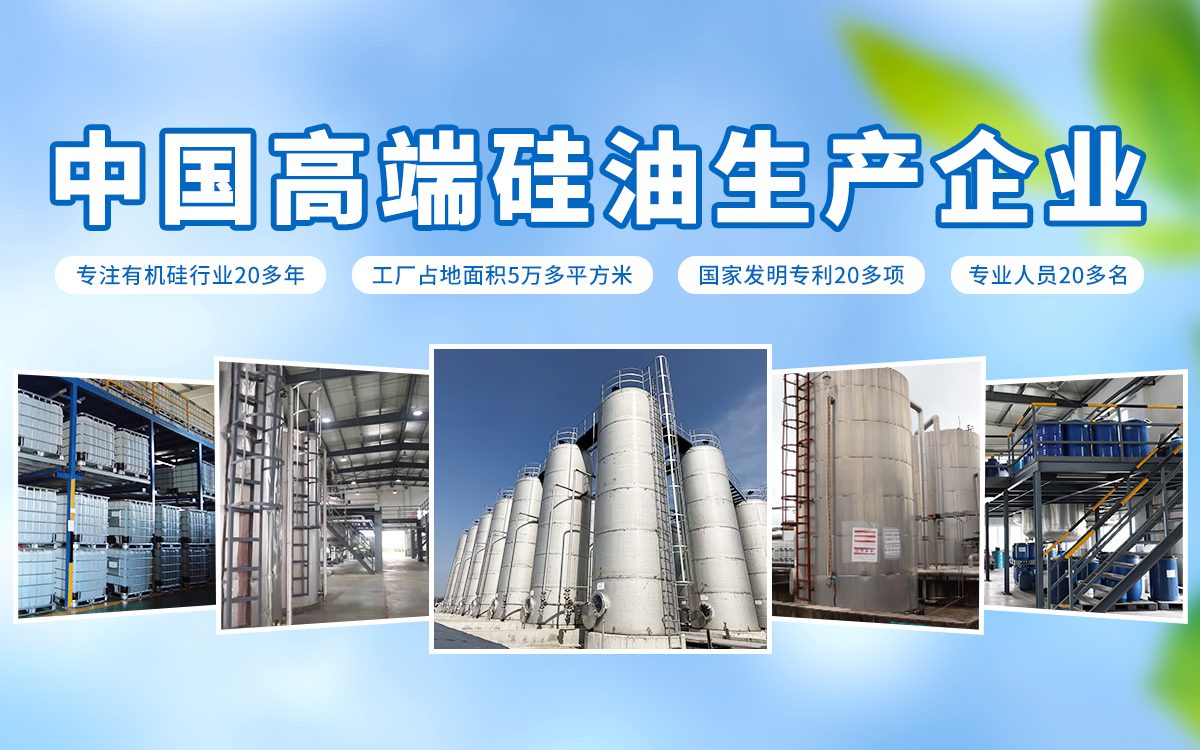
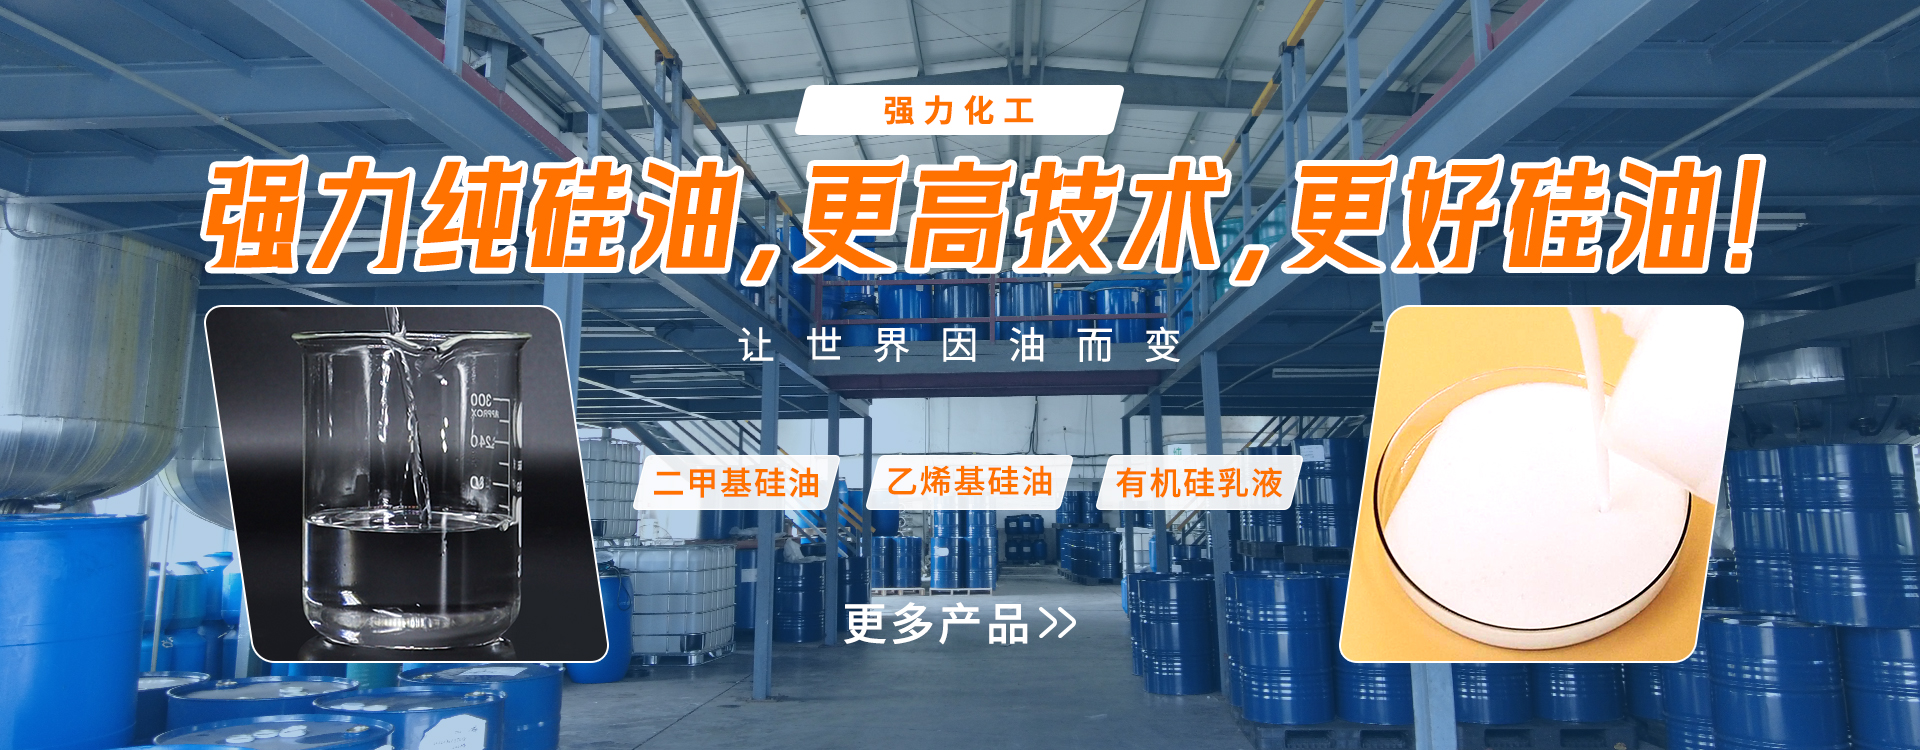
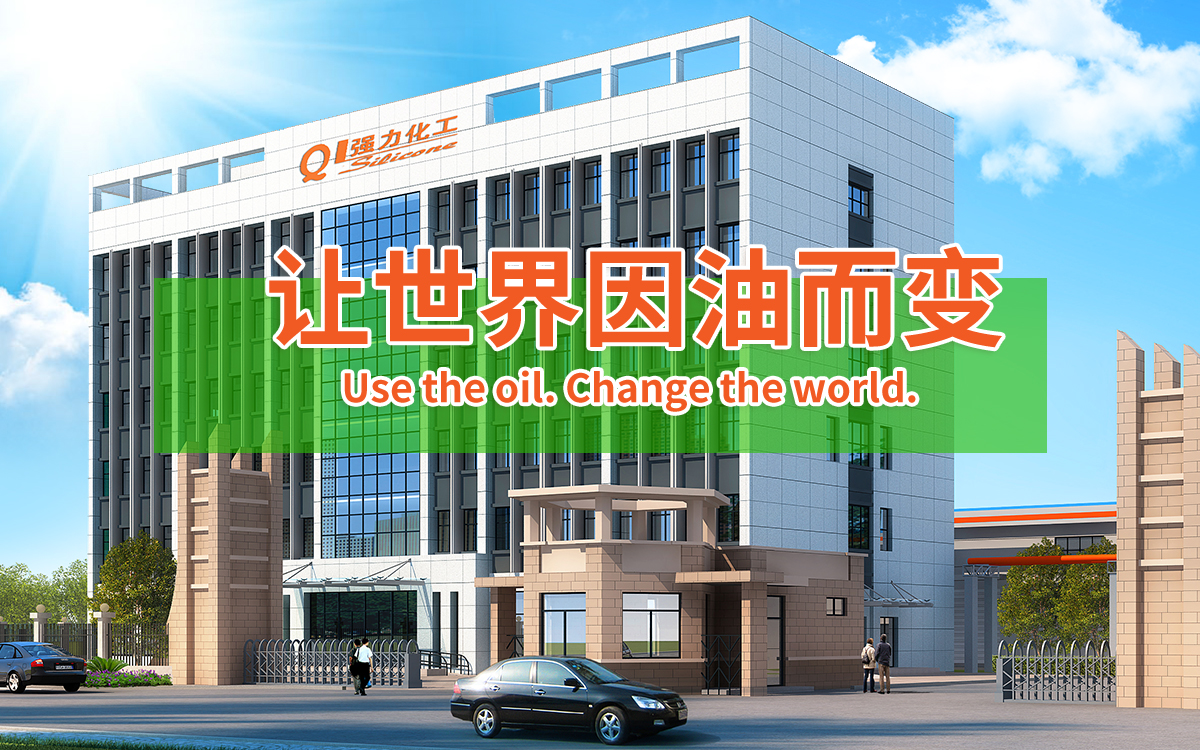
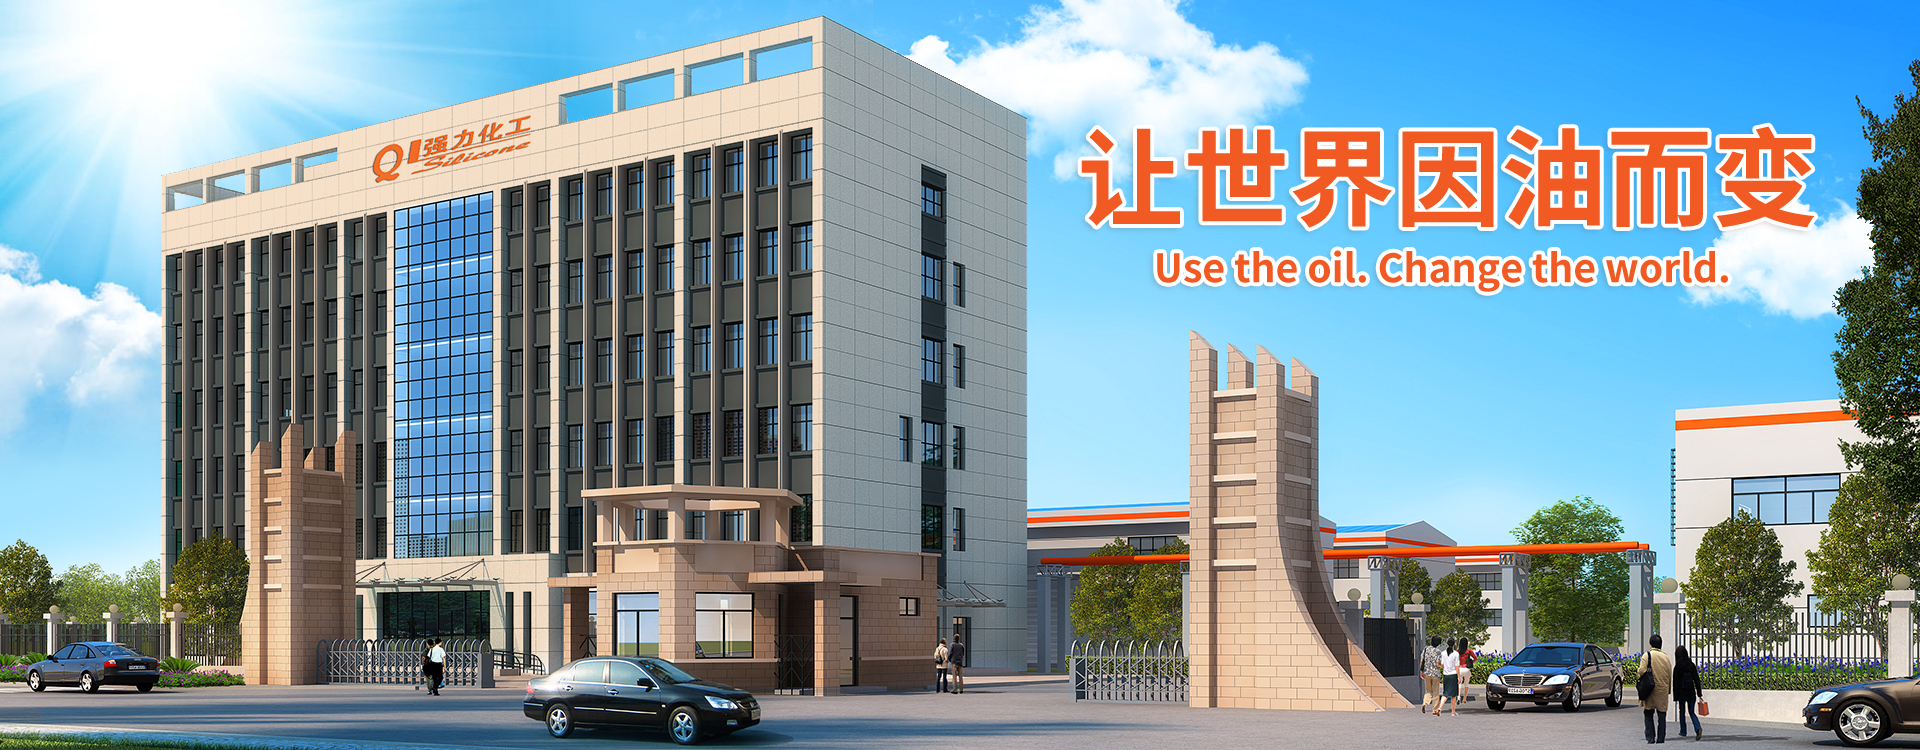
◎ 澳门大阳城集团2138网站是一家专注于有机硅新材料,集研发、生产与销售为一体的综合性高新技术企业。公司已是有机硅行业内较为知名的品牌,倾力于打造高品质有机硅产品:二甲基硅油、乙烯基硅油、氨基硅油、乳化硅油、羟基硅油、含氢硅油与纺织品硅油等。砥砺前行,踔厉奋发,强力纯硅油,更高技术,更好硅油。秉承“让世界因油而变”企业愿景,一直致力打造全球领先的硅基新型材料供应商。
◎ 信誉来自服务!我们建立了以客户为中心的服务体系。提高自身素质,提高产品质量和服务水平是我们追求的目标。通过专业技术培训的销售工程师为客户提供及时、周到的专业技术服务,无论是产品销售、技术指导还是现场服务,我们尽一切所能做得更好。强力坚持把客户收益解决客户需求作为公司首要任务!
◎ 可持续发展来自沟通协作!我们希望建立战略伙伴关系,共谋发展,努力开拓,积极进取,为共同可持续发展的事业,强力化工将伴你成功。


公司年产能超5.5万吨
有机硅:甲基硅油、乙烯基硅油,氨基硅油
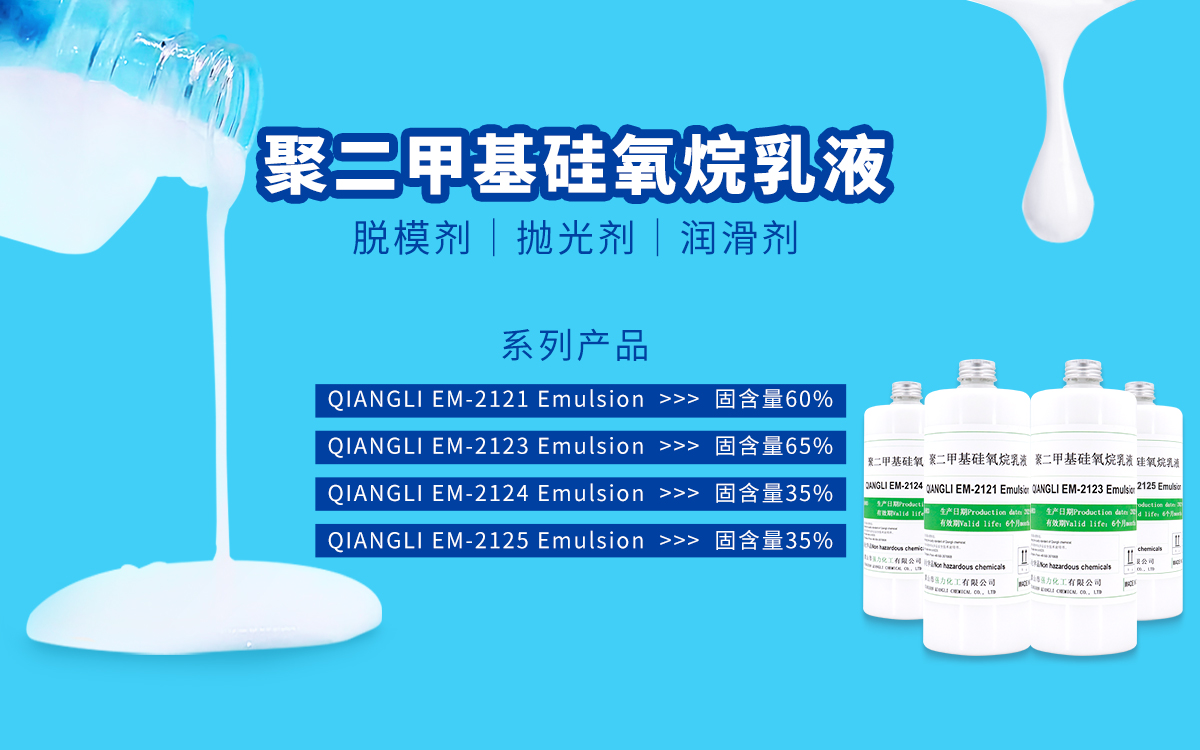
乳化硅油,羟基硅油、含氢硅油与纺织硅油等

两大研发中心
高端检测技术
对标国际品牌生产设备和技术

高端技术研发人才
专业的生产班子,技术型销售团队

对标与替代国际品牌
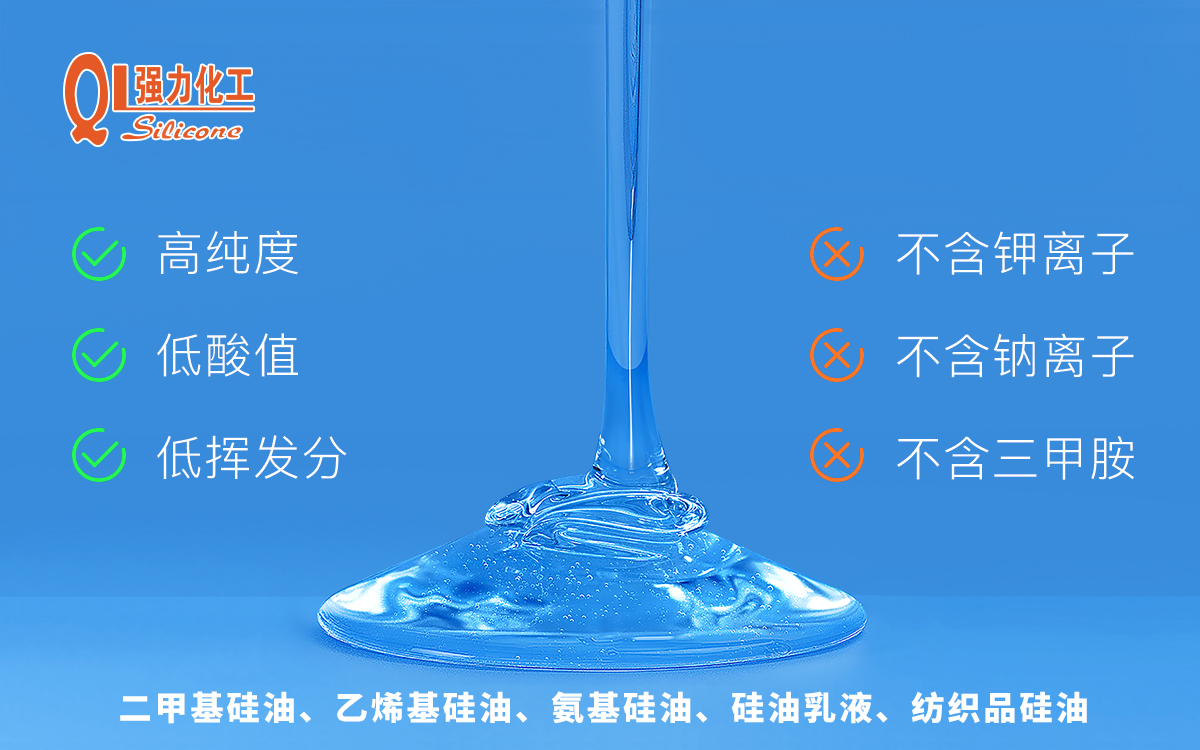
全新料生产,具有高纯度,低酸值,
低挥发分,不含三甲胺以及钾钠离子等

28年实践经验
全自动化连续生产线
24小时实时生产监控


 友情链接
友情链接